

Building a Contracts SaaS with SaasRock — Part 1 — Initial Project Setup


This is a series where I’ll be documenting the migration of a Document and Contract SaaS application I built 2 years ago, Délega, to SaasRock v0.8.
SaasRock’s framework (or boilerplate) does not entirely build your SaaS but eases its development, the purpose of this tutorial is to show you my thought process when building apps, but you can take any approach you want.
As with every real-world project I build with SaasRock, both the Core and Enterprise edition will be benefited from the added features that are needed in this app. If you’re a SaasRock Enterprise subscriber, ask for access to the repository.
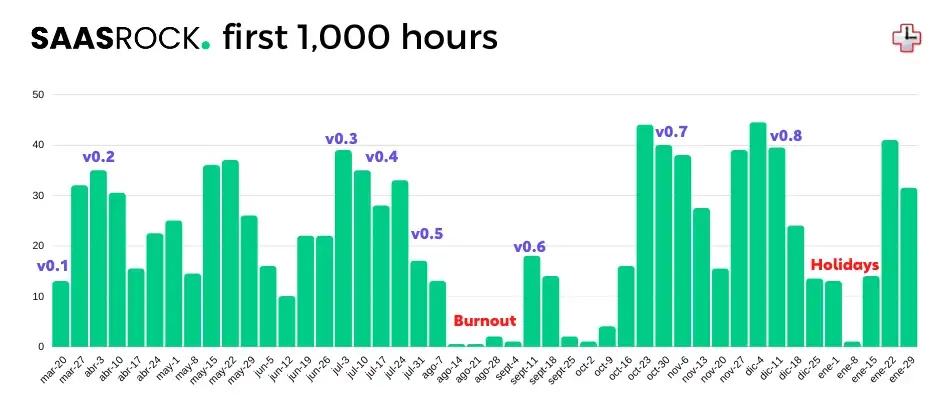
If you don’t know what SaasRock is: this week I reached 1,000 hours working on it:
Chapters
Part 1 — Initial Setup: Defining Requirements, Initial Setup, and Deployment with Vercel and Supabase
Part 2 — Contracts Module: Creating the Entity, Setting up the Workflow, and Signing with Dropbox Sign (formerly HelloSign)
Part 3 — Linked Accounts: Allowing users to link with other accounts in order to share Contracts to select the signer users.
Part 4 — Documents Module: Creating the Entity, Converting PDF to Image, and OCR scan with Tesseract.js
Part 5 — Pricing Plans: Setting up the Pricing Model, and Creating the Products and Prices in Stripe
Part 6 — Marketing Pages: Updating the Logo, Hero Copy, Gallery Images, Features list, and SEO meta tags
Part 7 — Migrating to Enterprise: Switching to SaasRock Enterprise, Creating an Onboarding flow, and Page view & Event tracking
Part 8 — Emails and Notifications: Sending Transactional emails with Postmark and custom In-app Notifications with Novu
Disclaimer: The title and content of the chapters can change at any time.
Chapter 1
Requirements
Initial SaasRock Core Setup
Deployment to Vercel and Supabase
1. Requirements
I’ll try to keep the MVP as simple as possible:
There are 2 types of Accounts (aka Tenants): Clients and Providers
Clients link with Providers
Providers upload Documents, and Clients can access them
Clients or Providers upload a shared Contract Contracts have signatories and workflow states (Draft, Pending, Signed)
This is the basic app which we can build with SaasRock’s Entity Builder in minutes, but we’ll need to add custom functionality to:
Sign Contracts digitally using Dropbox Sign (formerly HelloSign)
Scan uploaded Documents with OCR using Tesseract.js
2. Initial SaasRock Setup
The first thing I’m going to do is create an empty private repository called saasrock-delega, clone it on my machine, and set up SaasRock Core Edition as the upstream to pull the latest changes (currently v0.8).
We can later switch to the Enterprise Edition which has Onboarding, Analytics, and a few other features (compare them here).
git clone https://github.com/AlexandroMtzG/saasrock-delega.git
git remote add upstream https://github.com/AlexandroMtzG/saasrock.git
git remote set-url --push upstream no_push
git pull upstream main
npm install
Now let’s push the initial changes to the repository:
git branch -M main
git add .
git commit -m "first commit"
git push origin main
Before starting the app, we need a few required environment variables set up. So I’m going open the project in VS Code (with code .), duplicate the file .env.example as .env, and set the following values:
APP_NAME="Délega"
SERVER_URL=http://localhost:3000
DOMAIN_NAME=delega.saasrock.com
API_ACCESS_TOKEN={PRIVATE GUID}
DATABASE_URL="postgres://{USER}:{PASSWORD}@localhost:5432/saasrock-delega"
SESSION_SECRET={PRIVATE RANDOM STRING}
ADMIN_EMAIL=alex.martinez@absys.com.mx
ADMIN_PASSWORD={PRIVATE PASSWORD}
Run the Prisma migrations and seed the database with the following command — make sure to have a local Postgres server running, I use Postgres.app for Mac:
npx prisma migrate dev
⚠ If for any reason the migration/schema was applied to the database but it was not seeded, you can run npx prisma db seed if that also fails, you can try deleting the node_modules folder and the package-lock.json file, reinstall and retry. And if the migration did not execute, try with npx prisma migrate reset.
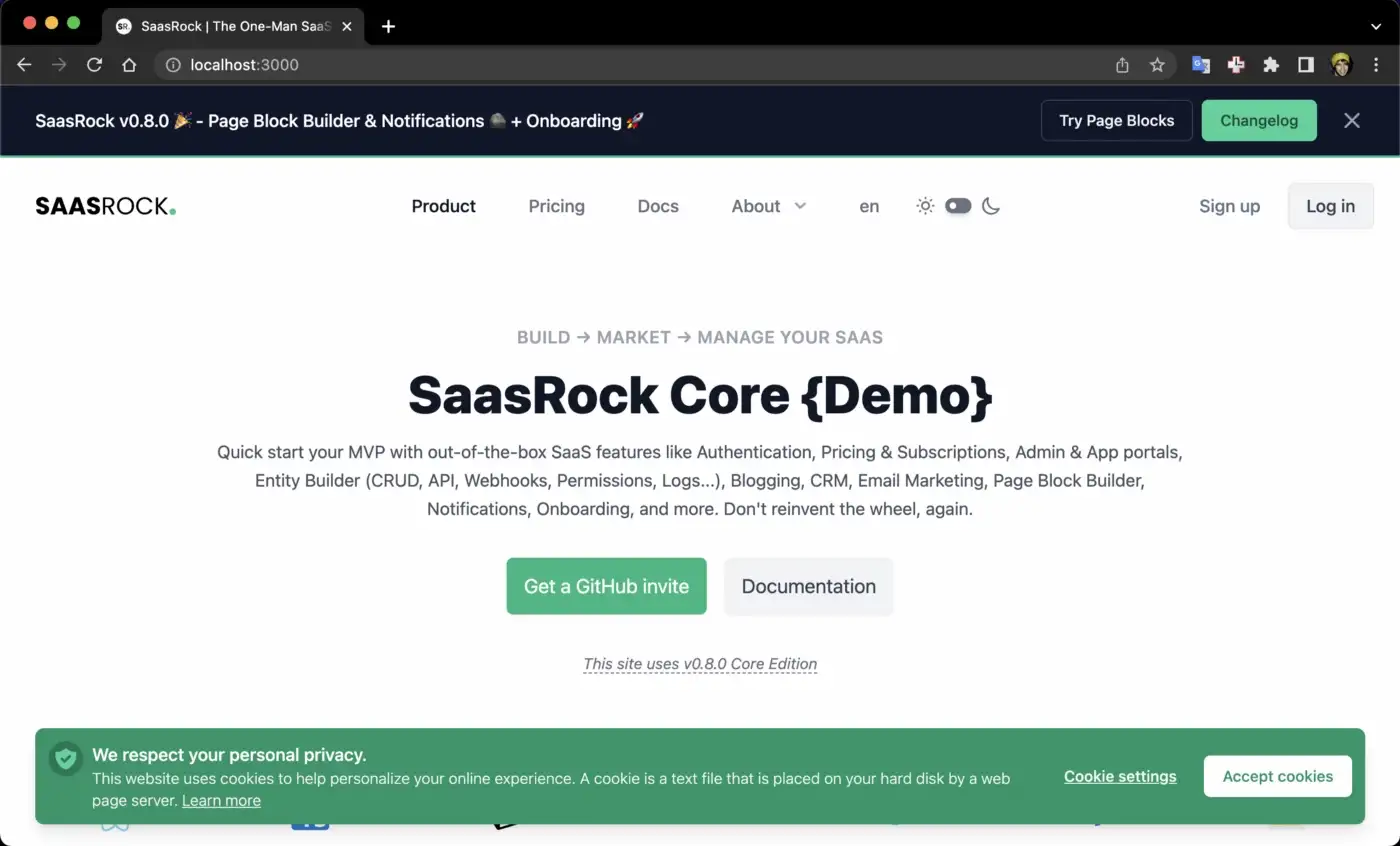
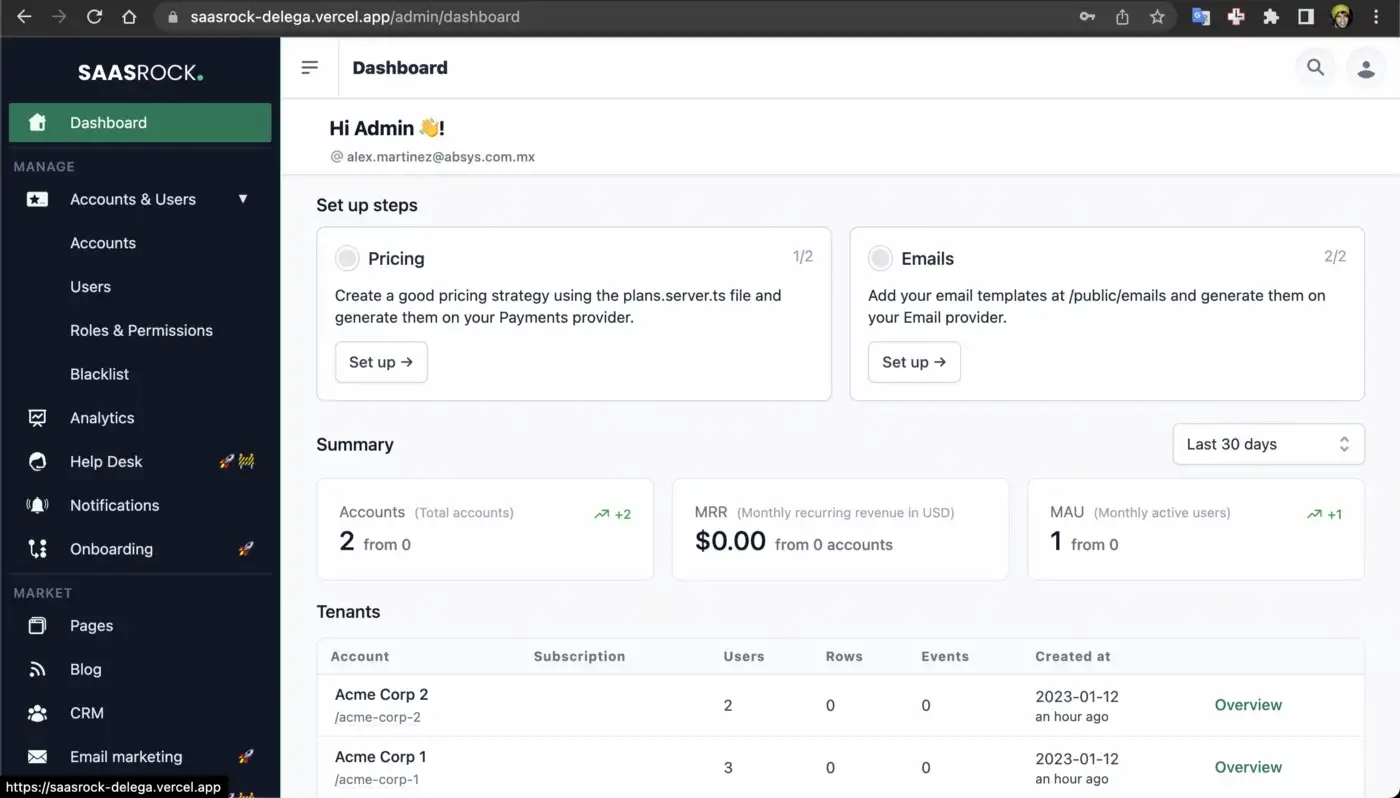
Now we can run the app using npm run dev and open http://localhost:3000:
3. Deployment to Vercel and Supabase
I want to create a fast development workflow, so I like deploying the first commit to a real URL with a live database.
What I usually do first, is apply the Prisma migrations to the production database and seed it — I can later reset it when needed, so I need to create a Supabase project/database first.
IMPORTANT: When you create the Supabase and Vercel projects, make sure to select the nearest regions to each other.
Supabase
Create a Supabase project/database, go to the project settings, and set these .env variables:
DATABASE_URL="postgresql://{USER}:{PASSWORD}@{HOST}:5432/postgres" # LOCAL
SUPABASE_API_URL={Copy the Supabase Project URL}
SUPABASE_KEY={Copy the API Key service_role, secret}
Keep in mind that the connection string is different in production for serverless environments:
DATABASE_URL="postgres://{USER}:{PASSWORD}@{HOST}:6543/postgres?pgbouncer=true" # PRODUCTION
Using this supabase connection string (temporarily) we can apply our database schema and seed it with default data (like the admin user, which in my case is alex.martinez@absys.com.mx) npx prisma migrate dev, you should get the following command line result:

Vercel
Create a project in Vercel and import the recently created repository.
Before clicking “Deploy”, make sure to set up the production environment variables. Remember that the DATABASE_URL is different (“postgres://” instead of “postgresql://”, pgbouncer=true, and port 6543), in my case these are my production variables:
APP_NAME="Délega"
SERVER_URL=https://delega.saasrock.com
DOMAIN_NAME=delega.saasrock.com
API_ACCESS_TOKEN={PRIVATE GUID}
DATABASE_URL="postgres://{USER}:{PASSWORD}@{HOST}:6543/postgres?pgbouncer=true" # PRODUCTION
SESSION_SECRET={PRIVATE RANDOM STRING}
For now, we don’t need the other .env values. Now I have the first deployment successful 🟢:
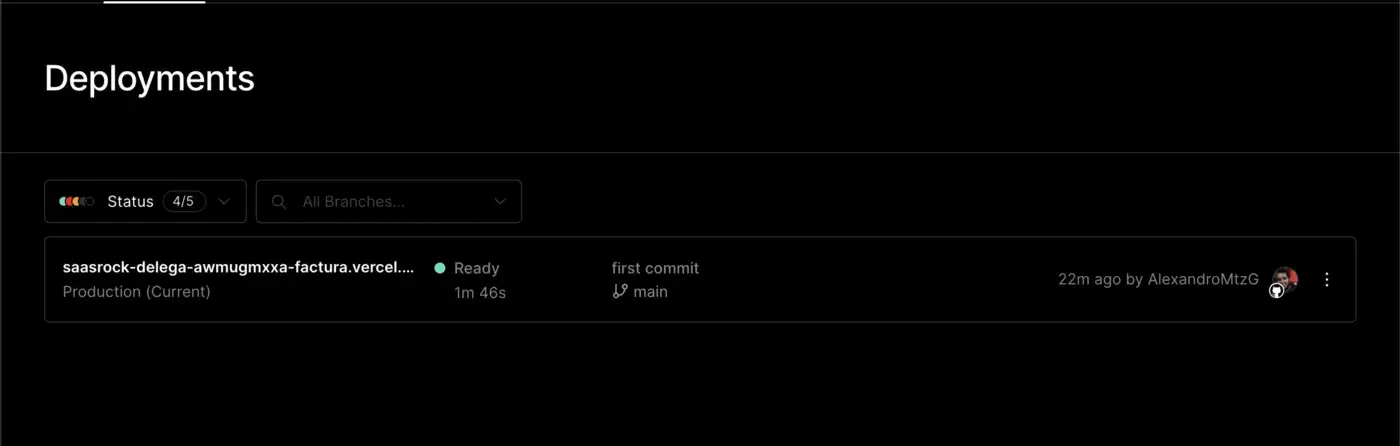
If you’re not using a custom domain, your SERVER_URL and DOMAIN_NAME should be “https://{YOUR_PROJECT}.vercel.app" and “{YOUR_PROJECT}.vercel.app” respectively.
But if you are using a custom domain, go to your project’s settings at https://vercel.com/{ORG}/{PROJECT}/settings/domains and add your domain or subdomain, and create the CNAME record in your DNS records (don’t use Proxy, but DNS only).


And give the records some time to propagate.
End Result
Now I have my deployed application at delega.saasrock.com so I don’t have to worry about deploying at the end of this series.
By the way, remember to delete the test users at /admin/users, especially the guest@admin.com user that would have access to our admin portal 😅 (or just change the password in the prisma/seed.ts file before seeding).
What’s next?
In chapter 2, I’ll create the Contracts module:
Modeling the Entity
Autogenerating the Files for CRUD
Creating the Signers Components
Implementing the Signers Model
Implementing the Dropbox Sign Node.js SDK
Follow me & SaasRock or subscribe to my newsletter to stay tuned!